Winter Training for Spring Climbing (Part 2): Finger Strength & Power
It’s 47 days until spring!
The days are still short and the temps are still low, but now is the time when strong climbers quietly build the engine that makes spring feel effortless.
And that engine: Finger strength and power.
If your fingers feel like the “weak link” when routes get thin, steep, or snappy, the time to train is now. February is prime time to develop finger strength safely, boost pulling power, and wake up that “snap” that makes hard movements feel possible.
If you’re joining us now, take a few minutes to catch up on Winter Training Part 1: Build Your Foundation Now
Why Finger Strength Matters
Finger strength is one of the most limiting factors in climbing performance because it’s often the first system to fail.
When your fingers get stronger, you can:
Hold smaller holds with less effort
Stay relaxed longer (lower pump/fatique)
Move explosively on steep terrain
Train harder technique because you’re not constantly “maxed out” on every grip
Reduce injury risk by building stronger tissues gradually
The Two Types of Finger Training
1) Finger Strength (Max Strength)
Your ability to hold hard grips such as small edges, half-crimps, or pinches under high tension.
Think:
Hanging on a tiny edge without peeling
Sustaining body tension through thin sequences
Feeling stable on tiny footholds because your hands aren’t panicking
2) Finger Power (Rate of Force Development)
How quickly your fingers can apply force.
Think:
Snatching a hold dynamically
Hitting a small crimp in a deadpoint and sticking it
Quick “contact strength” on steep routes and boulders
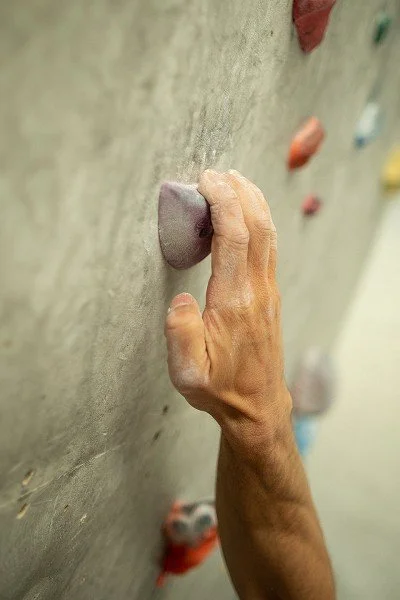
The Best Tools for Finger Strength & Power
Hangboard (the classic)
Best for: max strength, controlled progressive overload
Good for: building long-term finger resilience
Hangboard Training Guide by Metolius
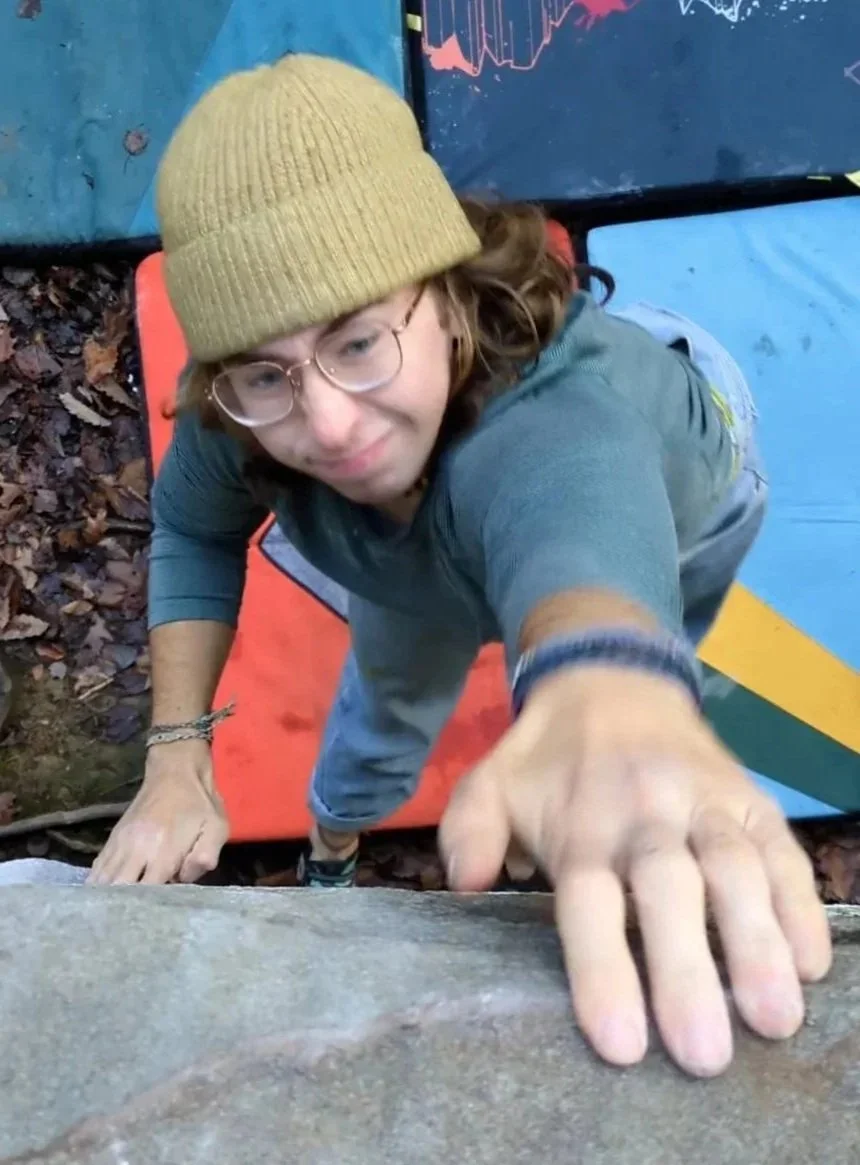
“Limit Bouldering”
Best for: finger strength + body tension + movement integration
Good for: real climbing strength and confidence on hard moves
Limit bouldering involves working 3-5 moves at your absolute max. Read more here
Campus Board (advanced)
Best for: finger power and contact strength
Good for: experienced climbers (at least one year of climbing) who already have a base of finger strength
(Not ideal for newer climbers or anyone with a history of finger injury.)
Your Finger Strength Warm-Up
Finger training without a proper warm-up is like trying to sprint after sitting on a couch all day.
Spend 10–15 minutes building heat before you start climbing. Your goal is to feel warm, stable, and ready, not rushed.
Warm-up flow:
5 minutes easy cardio (jump rope, brisk walk, cycling)
Mobility: shoulders, wrists, forearms
Easy climbing (or jug hangs if no wall)
Progressive hangs: 3–4 sets, increasing intensity gradually
Then start the working sets
A Simple Rule: Train Fingers 2x Per Week
It can be tempting to hangboard every day, especially when stoke is high. But tendons and pulleys don’t adapt as quickly as muscles. They need time.
2 finger-focused sessions per week. If you’re new to finger training, start with 1 session/week and build.
48–72 hours between sessions
A long-term mindset (8–12 weeks of consistency > 1 “hero month”)
The “Do Not Do This” List
Finger training works best when it’s consistent and boring—so avoid the mistakes that sideline people.
DON’T:
Train max fingers when you’re tired or rushed
Add weight too quickly
Do max hangs + limit boulders + campus in the same week if you’re not adapted
Ignore pain in pulleys or joints
Use full crimp as your main training grip (unless prescribed carefully)
A good rule:
If it feels sharp, stop. If it feels sore for days, adjust.
How to Know It’s Working
Finger gains often show up subtly first:
You feel calmer on small holds
You can shake out where you used to panic
You stick moves faster
You can try harder longer
Then you’ll notice it on actual performance:
Higher send rate
More confidence in thin sequences
Better power on steep routes
Less “death grip” intensity required to climb well
Quick Weekly Template
Here’s a simple schedule that works for a lot of climbers:
Day 1: Hangboard strength + light climbing
Day 2: Technique / volume (easy-moderate)
Day 3: Rest or active recovery
Day 4: Limit bouldering (power focus)
Day 5: Easy climbing + mobility / antagonists
Day 6: Optional outdoor day or moderate session
Day 7: Rest
Adjust based on your life, your recovery, and your goals.
Sample Workouts:
-
This is a classic max strength protocol that works well in this time of year.
A) Max Hangs — 5–7 sets
Choose a grip you can hold for 10 seconds at about 8/10 effort
Rest 2–3 minutes between sets
You can increase intensity by:
Adding weight
Using a smaller edge
Reducing assistance (bands/foot support)
Progression tip: add very small increases weekly (2.5–5 lbs, or slight edge reduction).
B) Pull Strength Add-on (Optional) — 3 sets
Choose one:
Weighted pull-ups (3–5 reps)
Lock-offs (3–5 seconds each arm)
Rows (6–10 reps)
Rest 2 minutes between sets.
C) Cool Down + Tissue Care (5–10 minutes)
Forearm stretching (gentle)
Light extensor training (rubber band finger opens)
Massage / rolling if it helps you recover
-
Power work is all about high quality, not volume.
Option 1: Limit Bouldering (Best All-Around)
Pick 3–5 hard problems (1–4 moves that feel nearly impossible)
Work each for 10–15 minutes
Take long rests (2–4 minutes between attempts)
Your goal:
big effort, clean attempts, full recovery.Stop when your power drops or your fingers feel sketchy.
-
If you have years of climbing experience, healthy fingers, and a good strength base:
Easy laddering / touches on large rungs
6–10 total efforts
Long rests
This should feel snappy and athletic, not grindy. If it’s grindy, it’s too hard (and riskier).
Coming Next
In the next post, we’ll focus on how to blend this new strength into movement that actually sends: power endurance, pacing, and route strategy